Know How to Lay Ceramic Tile
Are you building a new
house? Perhaps you are planning to renovate your home. Ceramic tile is a
suitable flooring material. This material is the choice of most home owners.
Because of this, good tile setters are doing brisk business. They can do the
job quickly but they do charge a hefty sum too.
Tile setting is not that
hard. Anybody can learn how to lay ceramic tiles. Just like any other home
projects this can be done by any person with enthusiasm to do handy jobs.
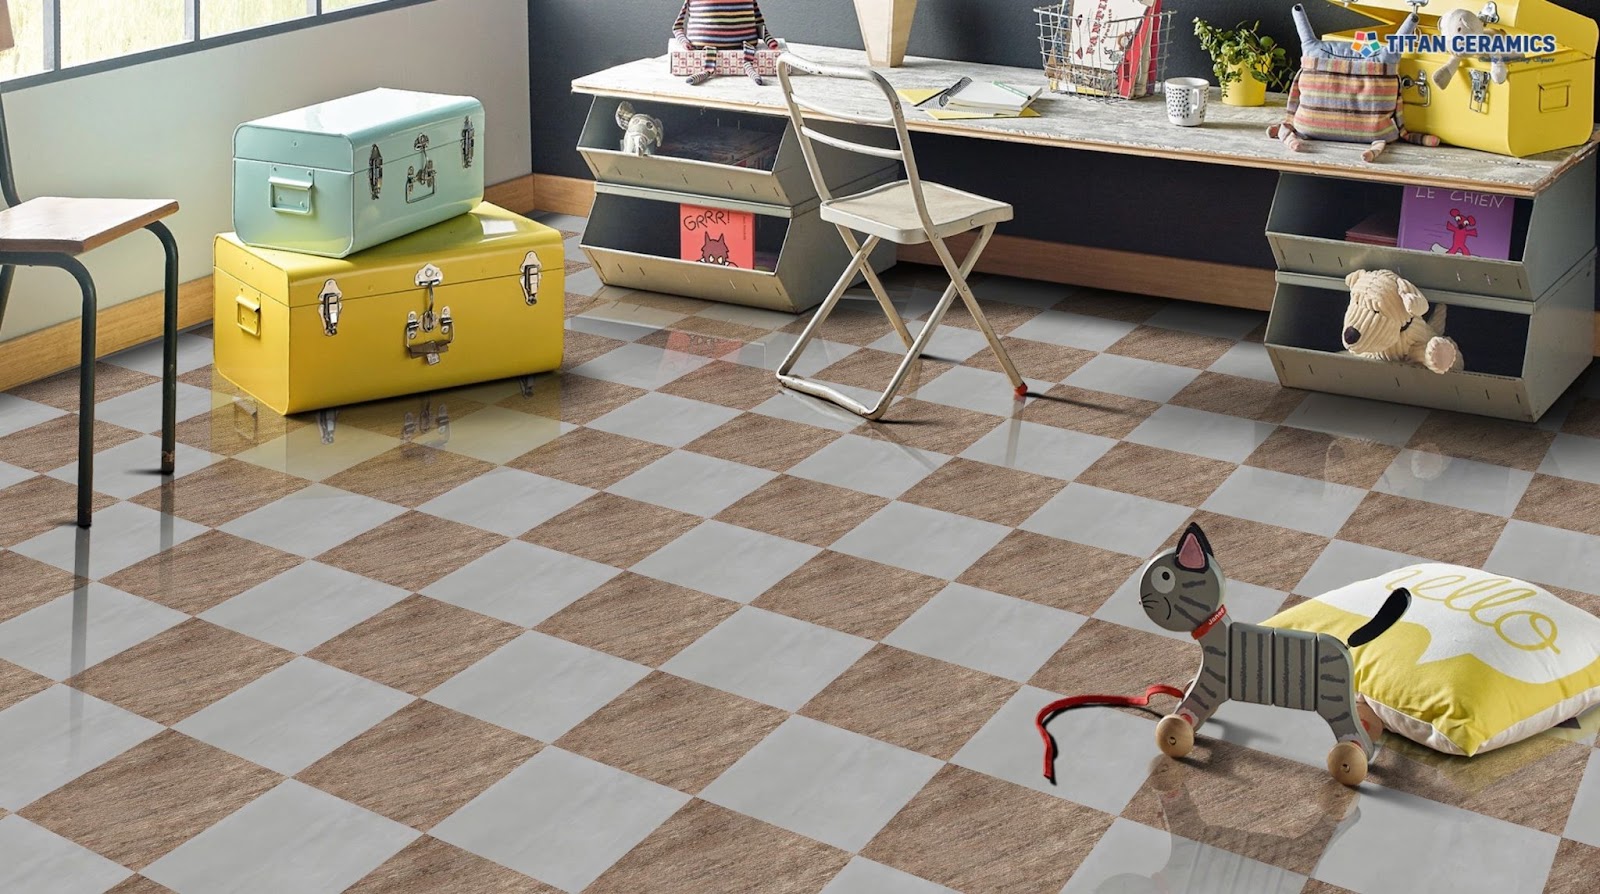
Ceramic tiles are one of
the best flooring materials because of its durability. Ceramic tiles would last
from generation to generation without needing major repairs. This is one of the
flooring materials that would require very little maintenance. Because it is
stain resistant, sweeping, vacuuming and regular mopping is all it takes to
maintain a clean surface.
It is important to learn
how to lay ceramic tile before beginning the project to avoid costly mistakes.
Wrong tile setting could result to cracked tiles, water seepage as well as
additional costs if too many ceramic tiles are wasted due to improper cutting.
Below is a step by step
instruction on how to lay ceramic tile.
·
Prepare the sub-floor. This base
foundation must be leveled and thoroughly cleaned. Measure the area and
calculate the number of tiles to be used.
·
The next step is the layout. Find the
center of the room by measuring the length and the width. Make chalk lines in
the floor, this will serve as your guide. To visualize how the finished floor
would look, lay the ceramic tiles without applying adhesive.
·
The next step is spreading the adhesive
or the thin set. Professional tile setters use powder adhesive mixed with
water. You may want to use a ready mixed thin set to avoid the hassle of mixing
one yourself. Thin sets are available in different colors. You can choose the
color that would complement the color of your walls. Spread the thin set by
using a nick edged trowel. The nick mark will serve as the gauge to ensure that
the right amount of thin set is spread.
·
Lay the ceramic tiles using the chalk
lines as your guide. Use tile spacers to ensure that the tiles are uniformly
spaced. Cut tile pieces to fit floor edges and to accommodate the fixtures in
the room. The tiles must be allowed to set for a couple of days after which you
can now apply the grout.
·
Apply the grout. Ensure that the spaces
between the tiles are filled. Grout has to be mixed with water to attain the
consistency that would be easy to apply. Use sponge and water to remove the
excess grout from the newly laid tiles.
Ceramic tilling is best
done before other fixtures are installed. This is to avoid the need to cut
tiles to accommodate the fixtures. But if the house is being remodeled and you
need to remove the old flooring materials, ensure that no damage to the fixture
will result by using sheets and towels as covers.
If you would like to
learn, then you need to CLICK HERE
to learn what you need to do.

Comments
Post a Comment